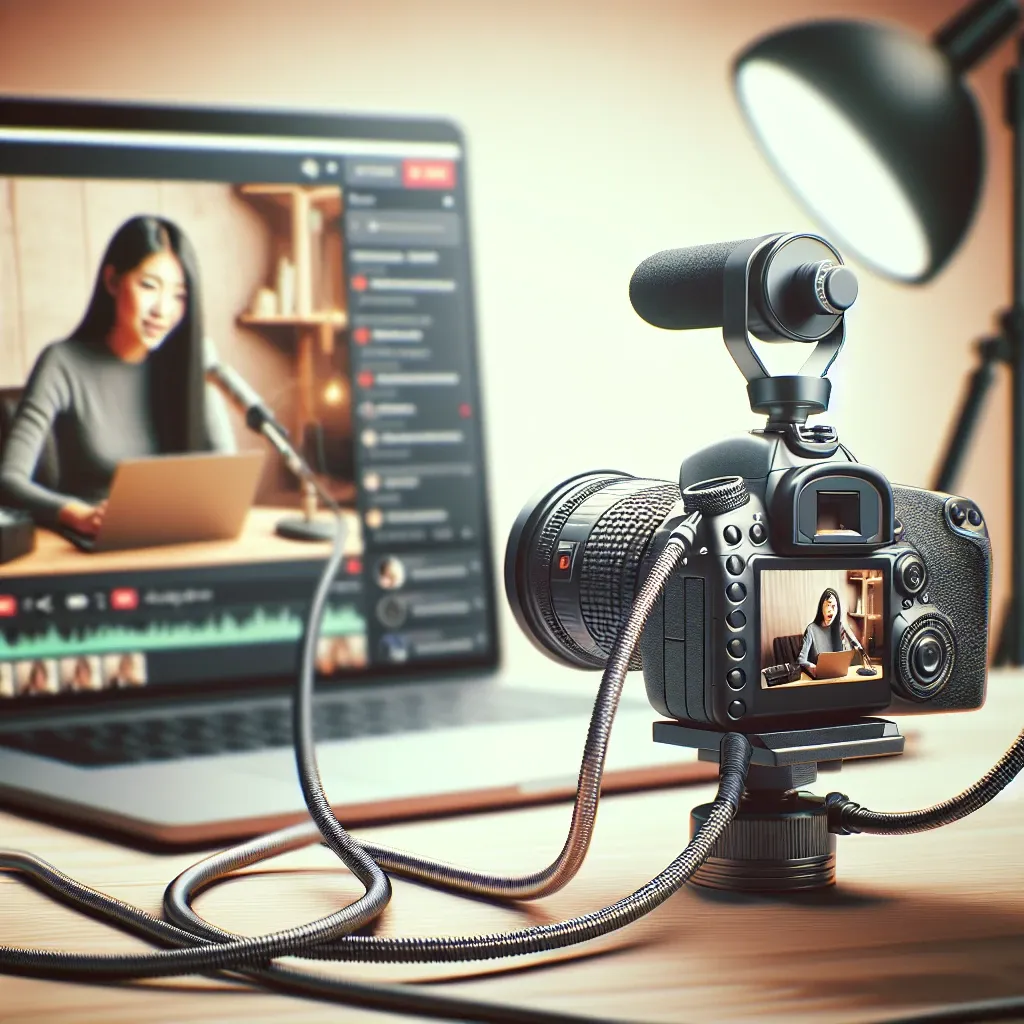
With the increasing prevalence of live streaming for various purposes, including gaming, business conferences, and content creation, there’s a growing demand for high-quality video. One common question that arises is whether a DSLR camera can be used as a webcam for live streaming. The simple answer is yes. By using your DSLR as a webcam, you can significantly enhance the quality of your video streams compared to traditional webcams.
Benefits of Using a DSLR as a Webcam
There are several advantages to using a DSLR as a webcam:
- Superior Image Quality: DSLRs offer higher resolution and better image quality, making your streams look professional.
- Better Lenses: DSLRs come with a range of interchangeable lenses that can be optimized for different situations, offering more flexibility than standard webcams.
- Enhanced Low-Light Performance: DSLRs generally perform better in low-light conditions, providing clearer and brighter images.
- Depth of Field: Using a DSLR allows for a shallower depth of field, giving a more cinematic look to your videos.
Required Equipment
Before converting your DSLR into a webcam, you’ll need to gather the necessary equipment:
- DSLR Camera: Compatible models from brands like Canon, Nikon, Sony, etc.
- HDMI Capture Card: Devices like Elgato Cam Link 4K, which connect your DSLR to your computer via HDMI.
- HDMI Cable: To link your camera to the capture card.
- Camera Software: Software from your camera’s manufacturer or third-party applications like OBS Studio.
- Tripod or Mount: To position your camera at the desired angle.
Setting Up Your DSLR as a Webcam
Step 1: Install Necessary Drivers
Download and install the appropriate drivers for your DSLR camera, which can often be found on the manufacturer’s website.
Step 2: Connect the DSLR to Your Computer
Use the HDMI cable to connect your camera to the HDMI capture card, then attach the capture card to your computer via USB.
Step 3: Configure Camera Settings
Set your DSLR to video mode and disable any auto-off features to prevent the camera from shutting down during streaming. Adjust the settings for the best possible video quality.
Step 4: Install and Configure Streaming Software
Download and install streaming software like OBS Studio. Configure it to recognize your capture card as the video source.
Step 5: Fine-Tune Your Setup
Position your DSLR camera using a tripod or mount and adjust the framing, focus, and exposure settings for optimal results. Test the setup by going live privately and making any necessary adjustments.
Popular Software Options
Here are some commonly used software tools that can help you set up your DSLR as a webcam:
- OBS Studio: Free and open-source software for video recording and live streaming.
- Streamlabs OBS: User-friendly interface ideal for beginners.
- Sparkocam: Specifically designed for Canon and Nikon cameras, offering webcam functionalities.
- Ecamm Live: A streaming app for macOS, supporting multiple DSLR models.
Common Issues and Troubleshooting
When using a DSLR as a webcam, you might encounter a few issues. Here’s how to address common problems:
Overheating
DSLRs can overheat during prolonged use, so make sure you have good ventilation and consider point-and-shoot cameras designed for continuous recording.
Battery Life
Use an AC adapter to keep your camera powered during long streams to avoid running out of battery.
Software Limitations
Ensure your streaming and capture card software is up-to-date to prevent compatibility issues.
Conclusion
Using a DSLR as a webcam for live streaming is an excellent way to elevate your video quality. With the right equipment and configuration, you can produce professional-grade streams that stand out. While it requires some initial setup, the results are well worth the effort. Happy streaming!

